Contact Me

Showing posts with label frugal. Show all posts

Thursday, July 26, 2012

Adventures in cheese making

What a fun thing to do. If you have never attempted to make cheese of any kind before then you must try it. It is amazing to watch the milk product transform into a whole new being. Also what do you do with milk when it is close to or past date? MAKE CHEESE!!!


Ok so I had about 4 gallons that were past date. I know we drink a lot of milk, at least the kids do, but I know there is no way for us to use it all up before it turns sour. So I thought ricotta cheese. I threw 2 gallons in the largest pot I own, the pot I use for stock (more on that later), and a half pint of heavy cream for richness. The heavy cream is not necessary, just makes it taste really good. 


One thing is you don't want to crank the heat on this and bring it straight to a boil. It will scald and it won't turn to cheese. You want to set it on med low and let it slowly come to temp. You want it to boil but very slowly. Make sure you stir the bottom of the pot so you don't scald the milk that just sits there. The temperature you are going for is 180 degrees. But I just eyeballed it. I looked for a few bubbles to come to the surface.

It has just began to curdle
Once you get to 180 you want to add in your vinegar and salt. You will see it immediately form curds. Stir as little as possible now. Turn the stove off and let it just sit there and curdle. Make sure that you stir the bottom of the pan if you leave in on the stove, otherwise you will get scalded cheese. 


While waiting for it to curdle line a strainer with a towel or cheese cloth. Once it has become a giant mass of curds start ladling it into your strainer lined with towels. My suggestion would be don't make 2 gallons at once unless you have enough towels to strain that much and a place to hang them. 


My towels loaded with cheese
I took the curds and filled my towels and used ribbon to tie them up. I then hung a wooden dowel over my sink and tied the cheese filled towels to it. I let them drain until I couldn't see any more whey coming off them anymore. It took about 2 hrs. 

Once drained scrape all the cheese into a storage container and it is ready to use for whatever recipe you want it for. It can be stored in the fridge for up to 6 months. 

All this cheese from milk we would throw away otherwise. 
I used mine to make lasagna with homemade sauce. Honey was in heaven. He was texting pictures of it to all his friends. 
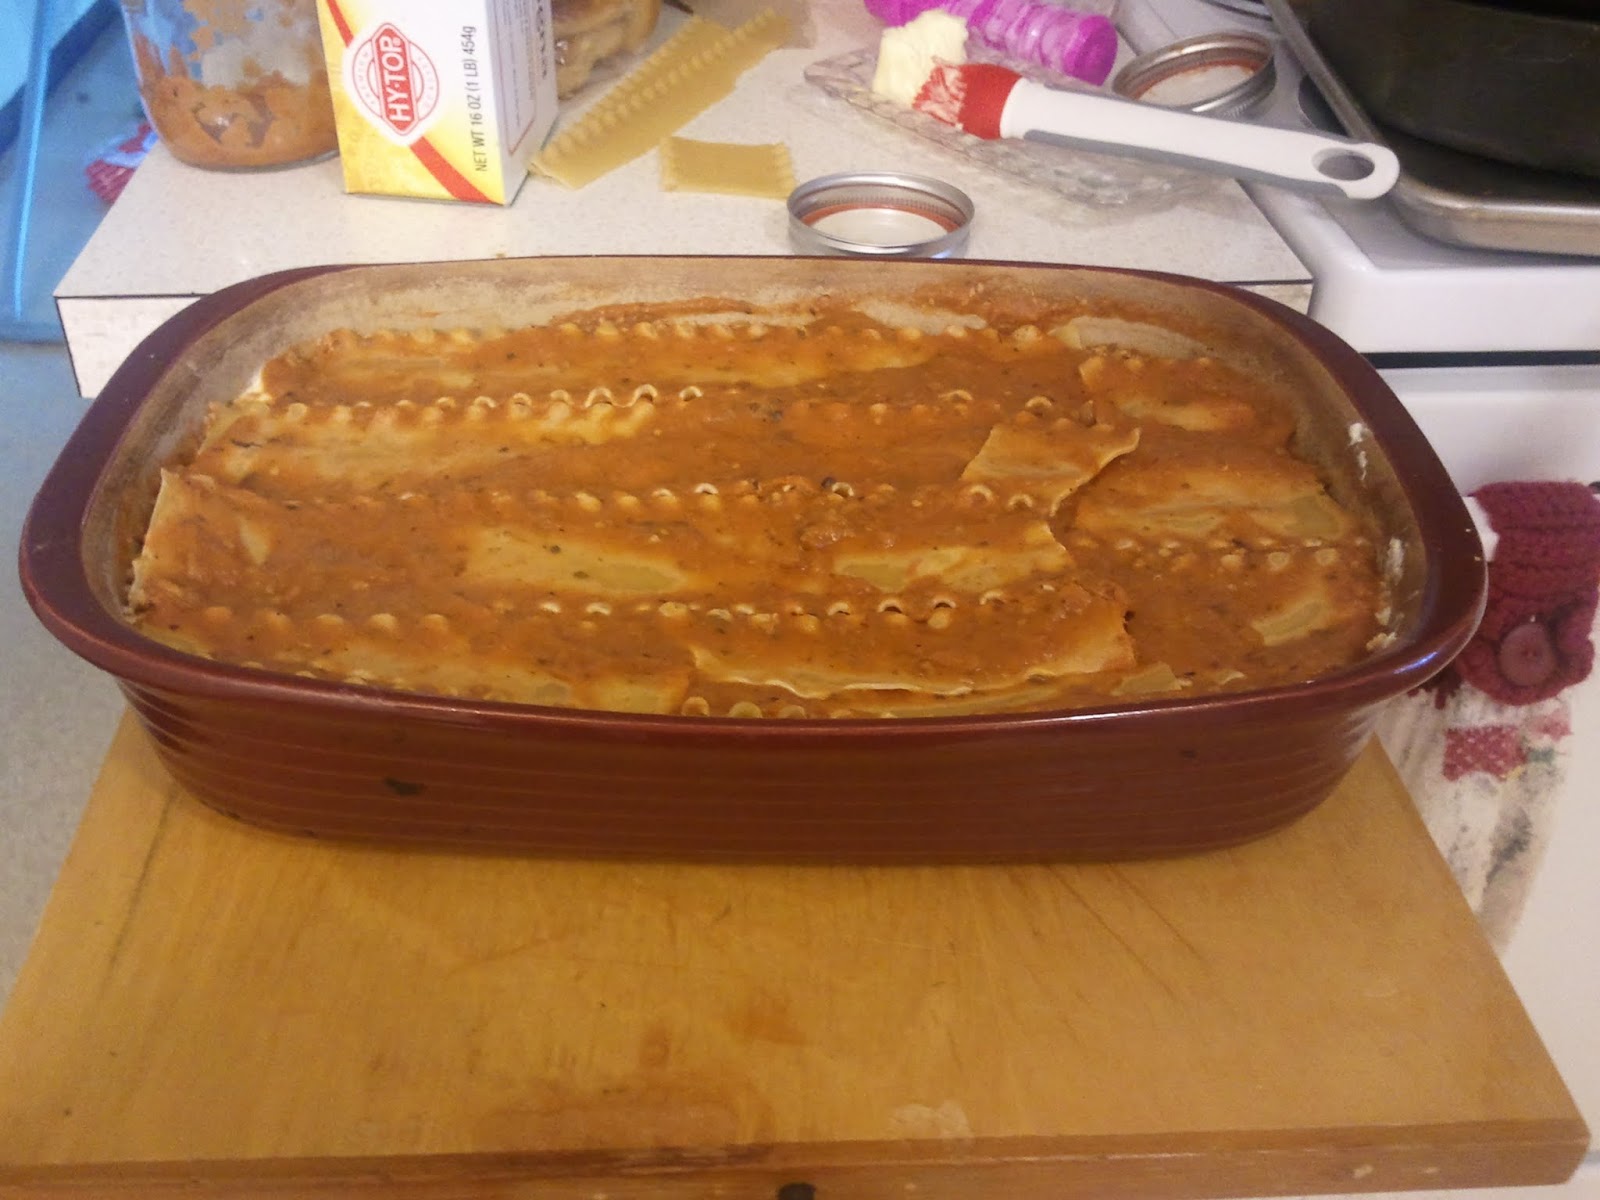
Just before I added the cheddar cheese on top


Thursday, July 19, 2012

Homemade Freezer Burritos

I don't know about you, but my family can go through a package of these in one meal. Doing that once in a while is no big deal, right. But no princess wants them daily. No I don't let her have them daily. I do however, when I don't know what to make for lunch throw these in the microwave and they have lunch. Between the 3 kids they can devour a whole package for lunch.

I had to find a way to make them so that they can have them when they want and I can afford to let them have as many as they want.

I thought why not just use the smaller taco shells and make up a bunch at once. YES! It works. However I have a hard time making it to the freezer with them. The kids can eat them as fast as I can make them. Good thing they only cost about $0.20 each burrito. And that is the most expensive it can be. Usually runs a bit less.

All the ingredients needed!
 Its great only need 3 ingredients and a few mins and you have got the same thing you would spend about $5 on, for only about $1.50
 Lay all your tortillas out. I could only make 6 at a time due to space.

 Put in a spoon full of beans right in the center of the shells. To make my beans I water them down just a little to make them go father, that is completely up to you. I also add in 2 packets of Taco Bell mild sauce.


 Then a very small sprinkle of cheese. They really don't need much. Just a little for taste.


Then roll them up. Fold in both ends and then roll.


  Fresh you can micro them for 30 sec. Frozen  I would micro them about 1min 30 sec.


This is my stack all ready to eat


All 3 kids like different dips for their burritos. Princess likes to have both Ranchero sauce and Ranch. Bubba like to have ketchup. And Monkey likes them plain.
Choices, Choices!

Tester

Testers


Wednesday, July 18, 2012

Homemade Fruit to Go

Monkey man is in love with these. Seriously! At play dates if anyone else has one he will steal it from them if I don't get his out.


The best thing about these is that he can hold them himself and usually doesn't make a mess with them. They fit in any bag we are toting that day. They really are a lifesaver. However, I can't handle the price of them. He can go through up to 2 of them a day and at between $0.60 and $1 each the price can really add up. I had to figure out how to cut the cost of them.

I set out to experiment and find new ways to get him what he wants and not go broke in the process.

I thought why not use a large jar of applesauce and refill? After all that is all that is in those pouches. Flavored applesauce. Best part is you can control what goes in there. I am planning on using homemade applesauce later in the summer when I can get some made. Ok so refill product is established, but how to get it in that little tiny hole? A funnel will just make a huge mess. Then I thought why not a turkey baster? Perfect fit. Makes refill a snap.

Now for the instructions.

Start with a stack of cleaned empty pouches. I clean them by running scalding hot water through them. Since they are a smooth surface there is no place for things to hide. Hot water works great. If you want you could add some soap to it, however it may be difficult to get all the soap residue out.


Next get your filling. AKA applesauce. Make sure it is flavored however you want it once it is done. This is your last chance to change anything about it.

Fill your turkey baster. One tip would be don't squeeze too much air out because you want to be able to have extra air to push it out. Fill it almost all the way to the top


This it getting to the bottom of the bottle but still able to get more out.


Next line up the opening of the baster with the opening of the pouch. Make sure your pouch is squeezed flat. As little air as possible inside. If you start with it full your applesauce will be fighting against the air. If it is empty there is nothing to have to come back out. 


Finish filling them all up and let your little one enjoy their treat and you enjoy not spending the whole grocery budget on these little pouches.